
(4)
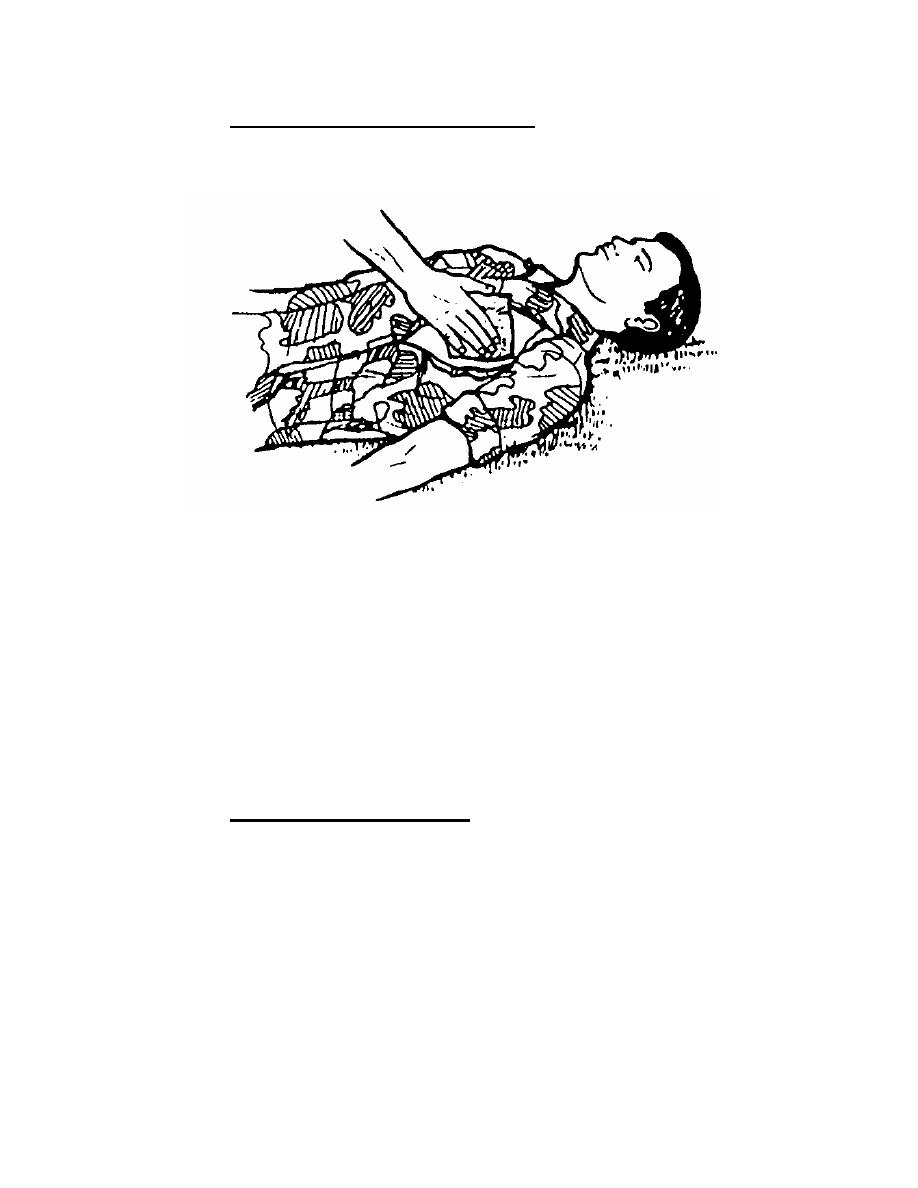
Place sealing material over the wound.
(a) Place the inside surface of the plastic envelope (the side without
printing) directly on the chest wound to seal the wound (figure 3-3).
Figure 3-3. Applying sealing material to an open chest wound.
(b) Check the plastic envelope to make sure it extends two inches or
more beyond the edges of the wound in all directions. If the envelope does not have a
two-inch margin, it may not form an airtight seal and may even be sucked into the
wound.
(c) If the envelope is not large enough or is torn, use foil, material cut
from a poncho, cellophane, a plastic MRE (meal ready-to-eat) package, or similar
airtight material to form the seal.
CAUTION:
If an impaled object is protruding from the chest wound, place airtight
material around the object to form as airtight a seal as possible.
(5) Tape sealing material in place. Use the tape from your aid bag to tape
down all four edges of the plastic envelope. When the casualty inhales, the plastic is
sucked against the wound and air cannot enter the wound.
CAUTION:
If the sealing material is not taped down, it must be held in place until
the dressing is applied. If the casualty is able, he can hold the sealing
material in place. Otherwise, you must keep the sealing material in
place while you prepare to dress the wound.
NOTE:
Figure 3-4 shows a petroleum gauze packet being used to seal a sucking
chest wound.
MD0554
3-7

 Previous Page
