
6-3.
REMOVE AND REPLACE PILOT-OPERATED REGULATOR DIAPHRAGM
After troubleshooting for air bubbles in the water system, you isolate the fault to a
hole in the pilot-operated water regulator diaphragm. To correct the fault, you must
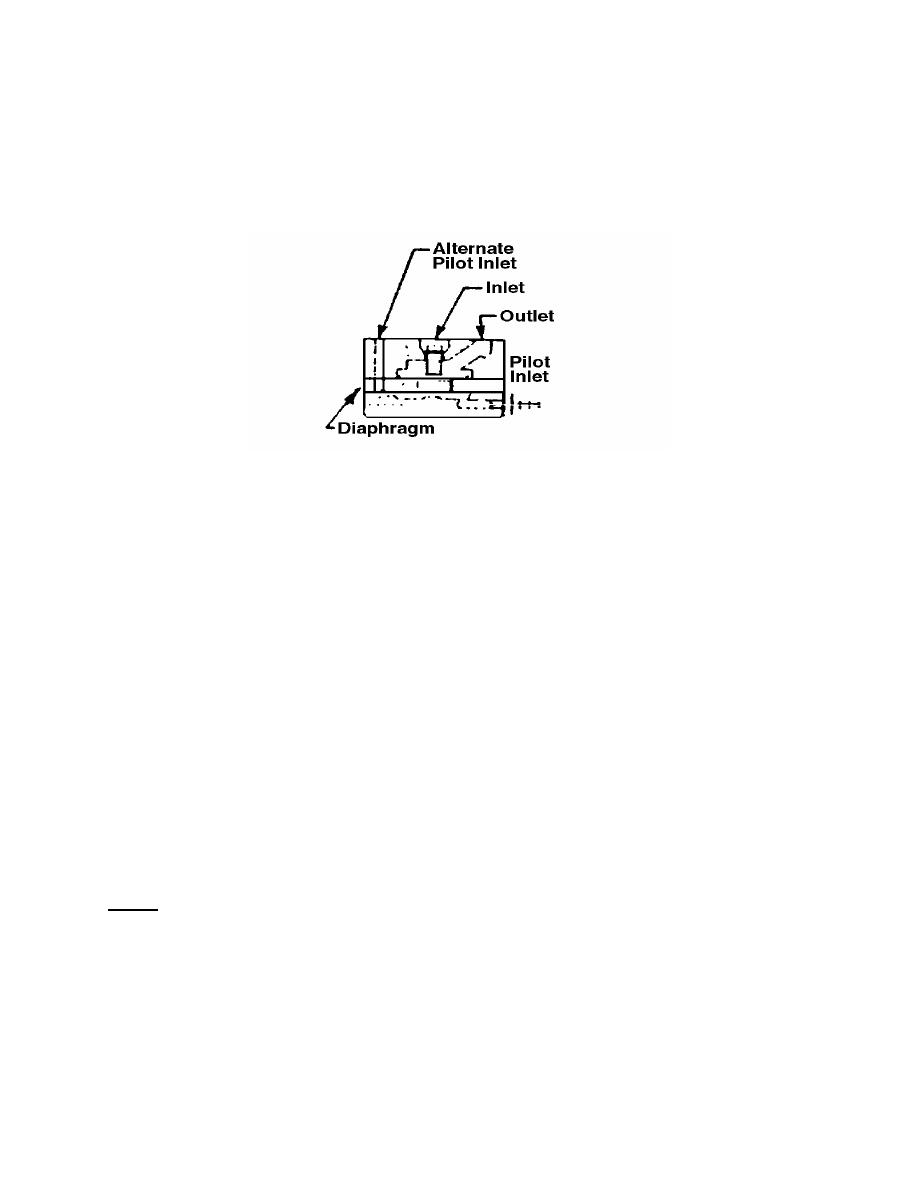
remove and replace the defective diaphragm. Refer to figure 6-12.
Figure 6-12. Pilot-operated water regulator.
a. Turn the water to the unit off at the floor utility box, bleed any water left in the
system, and remove the water regulator from the control box.
b. Turn the regulator face up (the word "A-DEC" should be right-side-up).
c. Remove the two Allen screws that are diagonally opposed to each other, and
loosen the third screw in the bottom right corner.
d. Separate the top from the bottom of the regulator. The white spacer will
remain attached to the top of the regulator.
e. Remove and replace the diaphragm.
(1)
Do not overtighten the screws as deformation of the diaphragm will
occur.
(2)
Tighten evenly to ensure that the diaphragm is not wrinkled causing air
leaks.
NOTE:
The top cover is made of a relatively soft brass and overtightening will
permanently distort it and cause it to leak.
f. Reverse steps a. through d. above to reassemble the diaphragm.
MD0371
6-7

 Previous Page
