
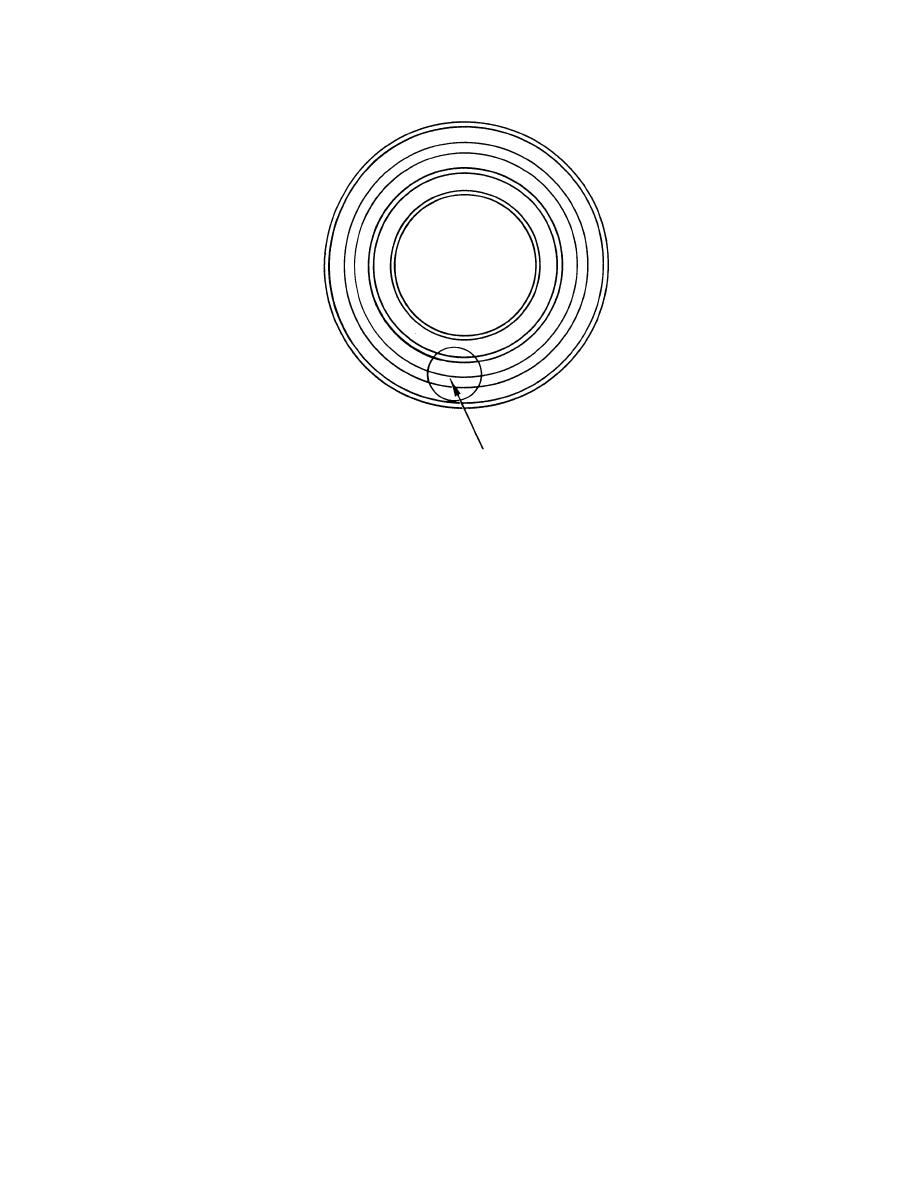
Figure 2-3. Can end, showing where to place the vacuum gauge.
e. Read the Gauge.
(1) Tap the gauge lightly. This is to be sure that friction within the gauge will
not result in an incorrect reading.
(2) Correct the vacuum reading, compensating for altitude, if applicable. Add
1 inch of mercury for each 1,000 feet above sea level. For example, a reading of 4
inches at an altitude of 2,000 feet may be corrected to 6 inches of vacuum.
f. Record the Reading.
(1) Take the reading at the exact moment that the can is pierced.
(2) Take the reading at the maximum point that is reached by the indicating
needle.
(3) If the gauge has two scales, as pictured in Figure 2-1, then any
movement to the left would indicate vacuum and any movement to the right would
indicate pressure. Pressure is an indication of chemical or microbial action taking place
within the container.
g. Clean the Gauge.
(1) Remove the rubber gasket and wipe with a cloth. Clean the rubber
gasket with warm soapy water and rinse.
MD0708
2-7

 Previous Page
