
b. Position of Carriers. Those assisting with the carry should position
themselves in order of height (figure 1-35). The tallest, carrier 1, should be standing
near the patient's head. (The reason is that a tall individual is more likely to have long
arms that can fully support the patient's head and shoulders.) Carrier 2, the next tallest,
should stand in the middle, facing the patient's midsection. Carrier 3, the shortest,
stands facing the patient's legs.
Figure 1-35. Carriers in order of height, with the tallest at the patient head.
c. Preparing for the Lift. Equipment safety precautions with regard stretcher
wheels are the same for this method of transporting a helpless or unresponsive patient
as for other methods of transporting a patient discussed so far. As with previous
methods, make sure that the wheels of the stretcher are locked. Then, place the
stretcher appropriately in relation to the X-ray table: at right angles, in tandem, or
parallel. The limitations of the room and the patient's condition will determine how you
place the stretcher in relation to the X-ray table. (Placement of the stretcher will be
discussed in more detail in paragraph 1-17.)
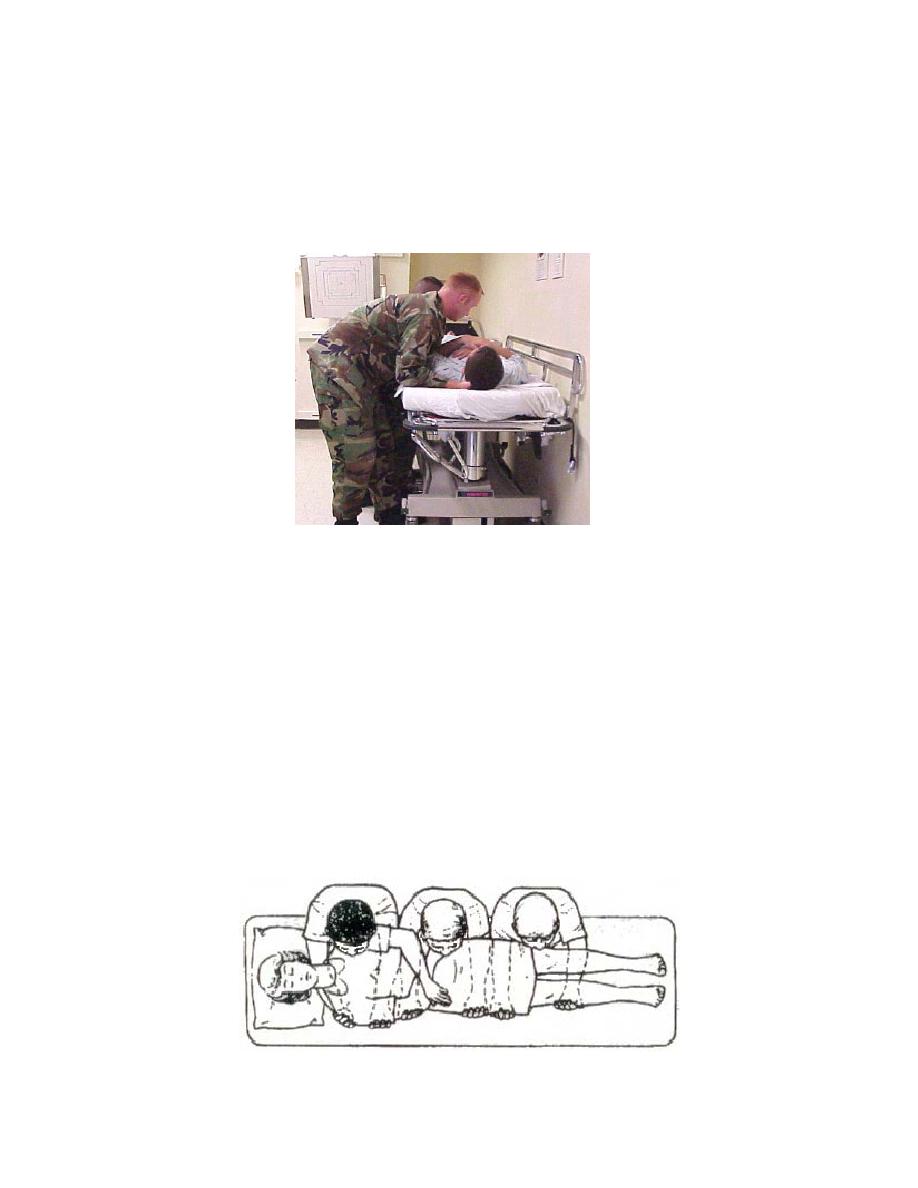
d. Arm Placement of Carriers. The way that the carriers place there arms
under the patient's body is crucial to correctly supporting the patient during the lift and
carry. Carriers should place their arms as shown in figure 1-36. Here, carrier 1 appears
on the far left of the figure shown, but still near the patient's head.
Figure 1-36. Carrier arm placement. (L to R--C!, C2, C3)
MD0961
1-33

 Previous Page
